“Honorarily Dutch”

[Hope’s paintings will be opening May 6 at the Button Art Gallery in Douglas, Michigan, a lively arts center in West Michigan connected to Saugatuck. The gallery’s original roots go back 200 years to London, England. It later moved to New York City, then Chicago and now West Michigan. If you’re in that area, consider stopping in! Her works will be on display a year. Her proud dad and I will be there on opening night, 6-8 p.m. May 6.]

Until recently, the daughter who got me started with repurposing wool sweaters had no genuine article of gratitude from me except for a pair of mittens. (Or maybe three pair? All of which would have benefited from a connecting string through her coat sleeves. She’s 25. Can I still say things like that? I say it with pure affection!)

This year as her birthday approached—her 25th—I wanted to have a blanket for her. FINALLY.

Hope is an artist. She lives in Holland, Michigan. She works diligently and enthusiastically to get her work and her name known. And this in a town where Dutch pride runs deep and the Dutch network is strong. She’s not Dutch herself, but has been warmly taken in and is thoroughly enjoying living and working in her adoptive town.

Making something for a daughter is no simple thing. (Can I get an “Amen” from any other mamas?) You want them to like it, and you know them awfully well, but you also know they, like us all, have particular preferences—which are often not your own! Above all you don’t want to disappoint. So my very first step was to be gracious with myself, do my best, and not consider this a be-all end-all gift. It was much easier to begin with the weight of expectations off my shoulders.

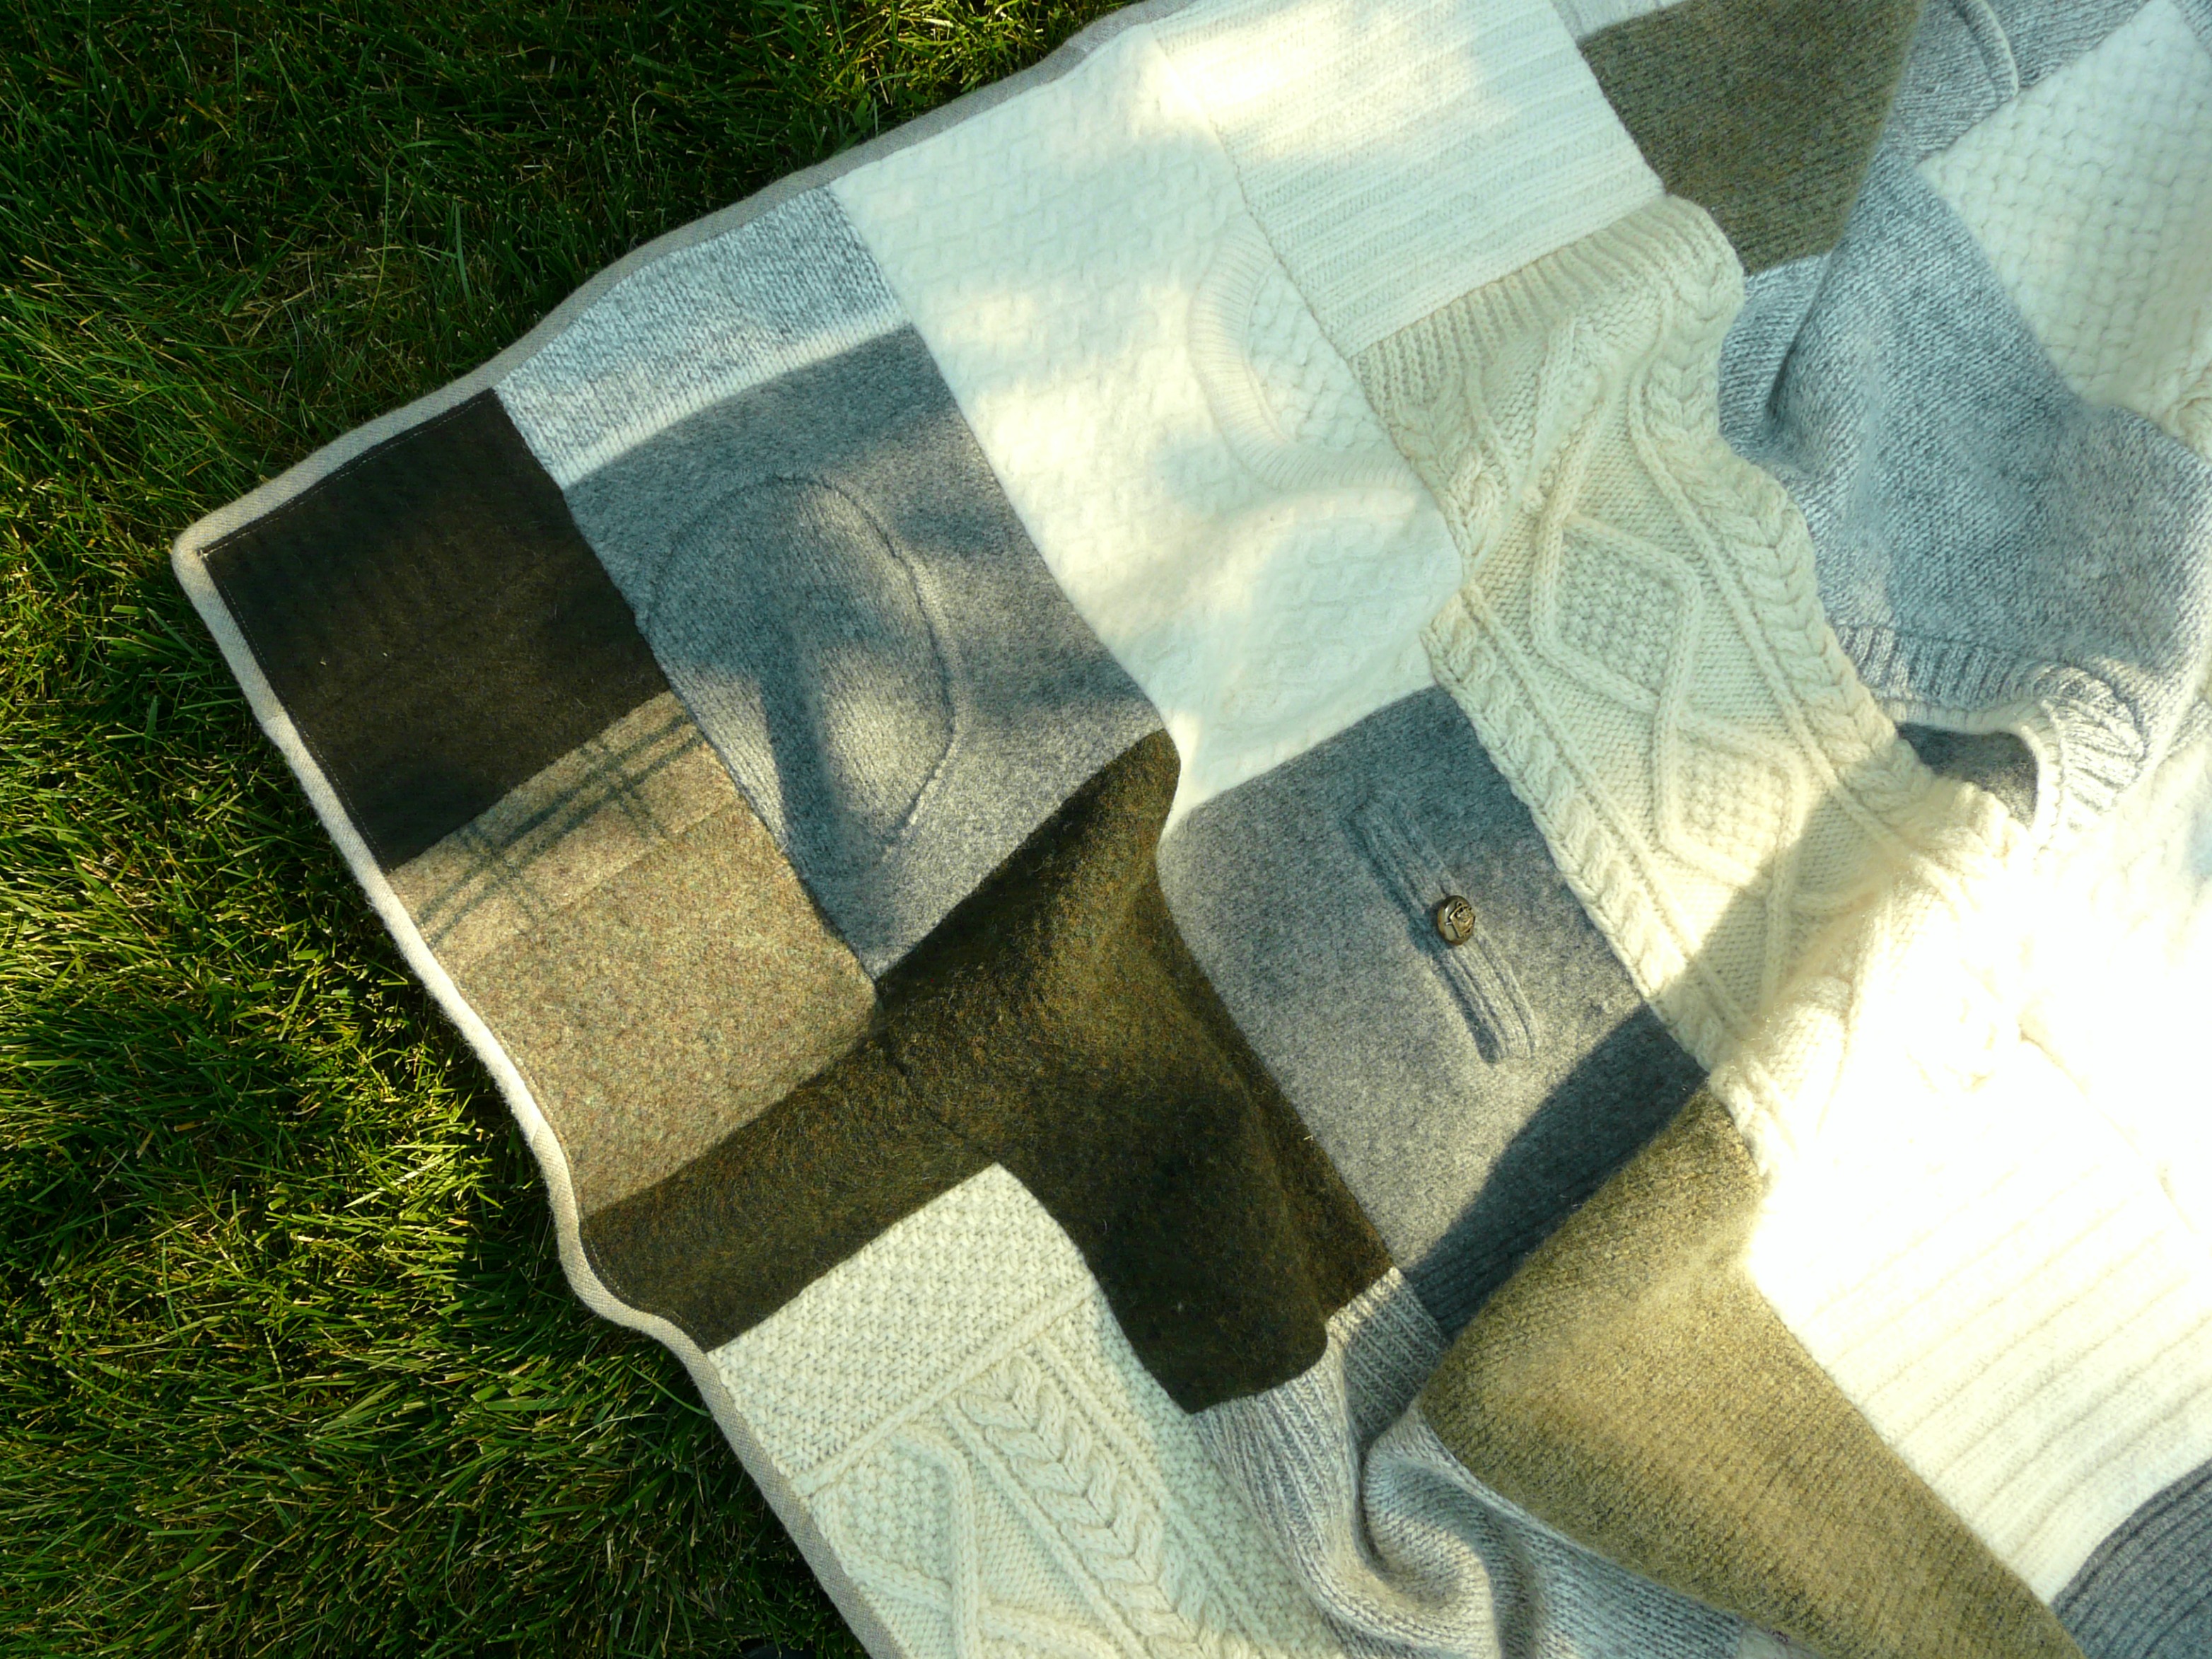
From there, my thinking about this blanket began with Hope’s love of blue and white porcelain. She hunts resale for vases, bowls, plates, and leans towards ones with Asian art. She has included these in several of her paintings. I took that porcelain theme but put a delft spin on it to honor Hope’s lengthening roots in West Michigan soil.

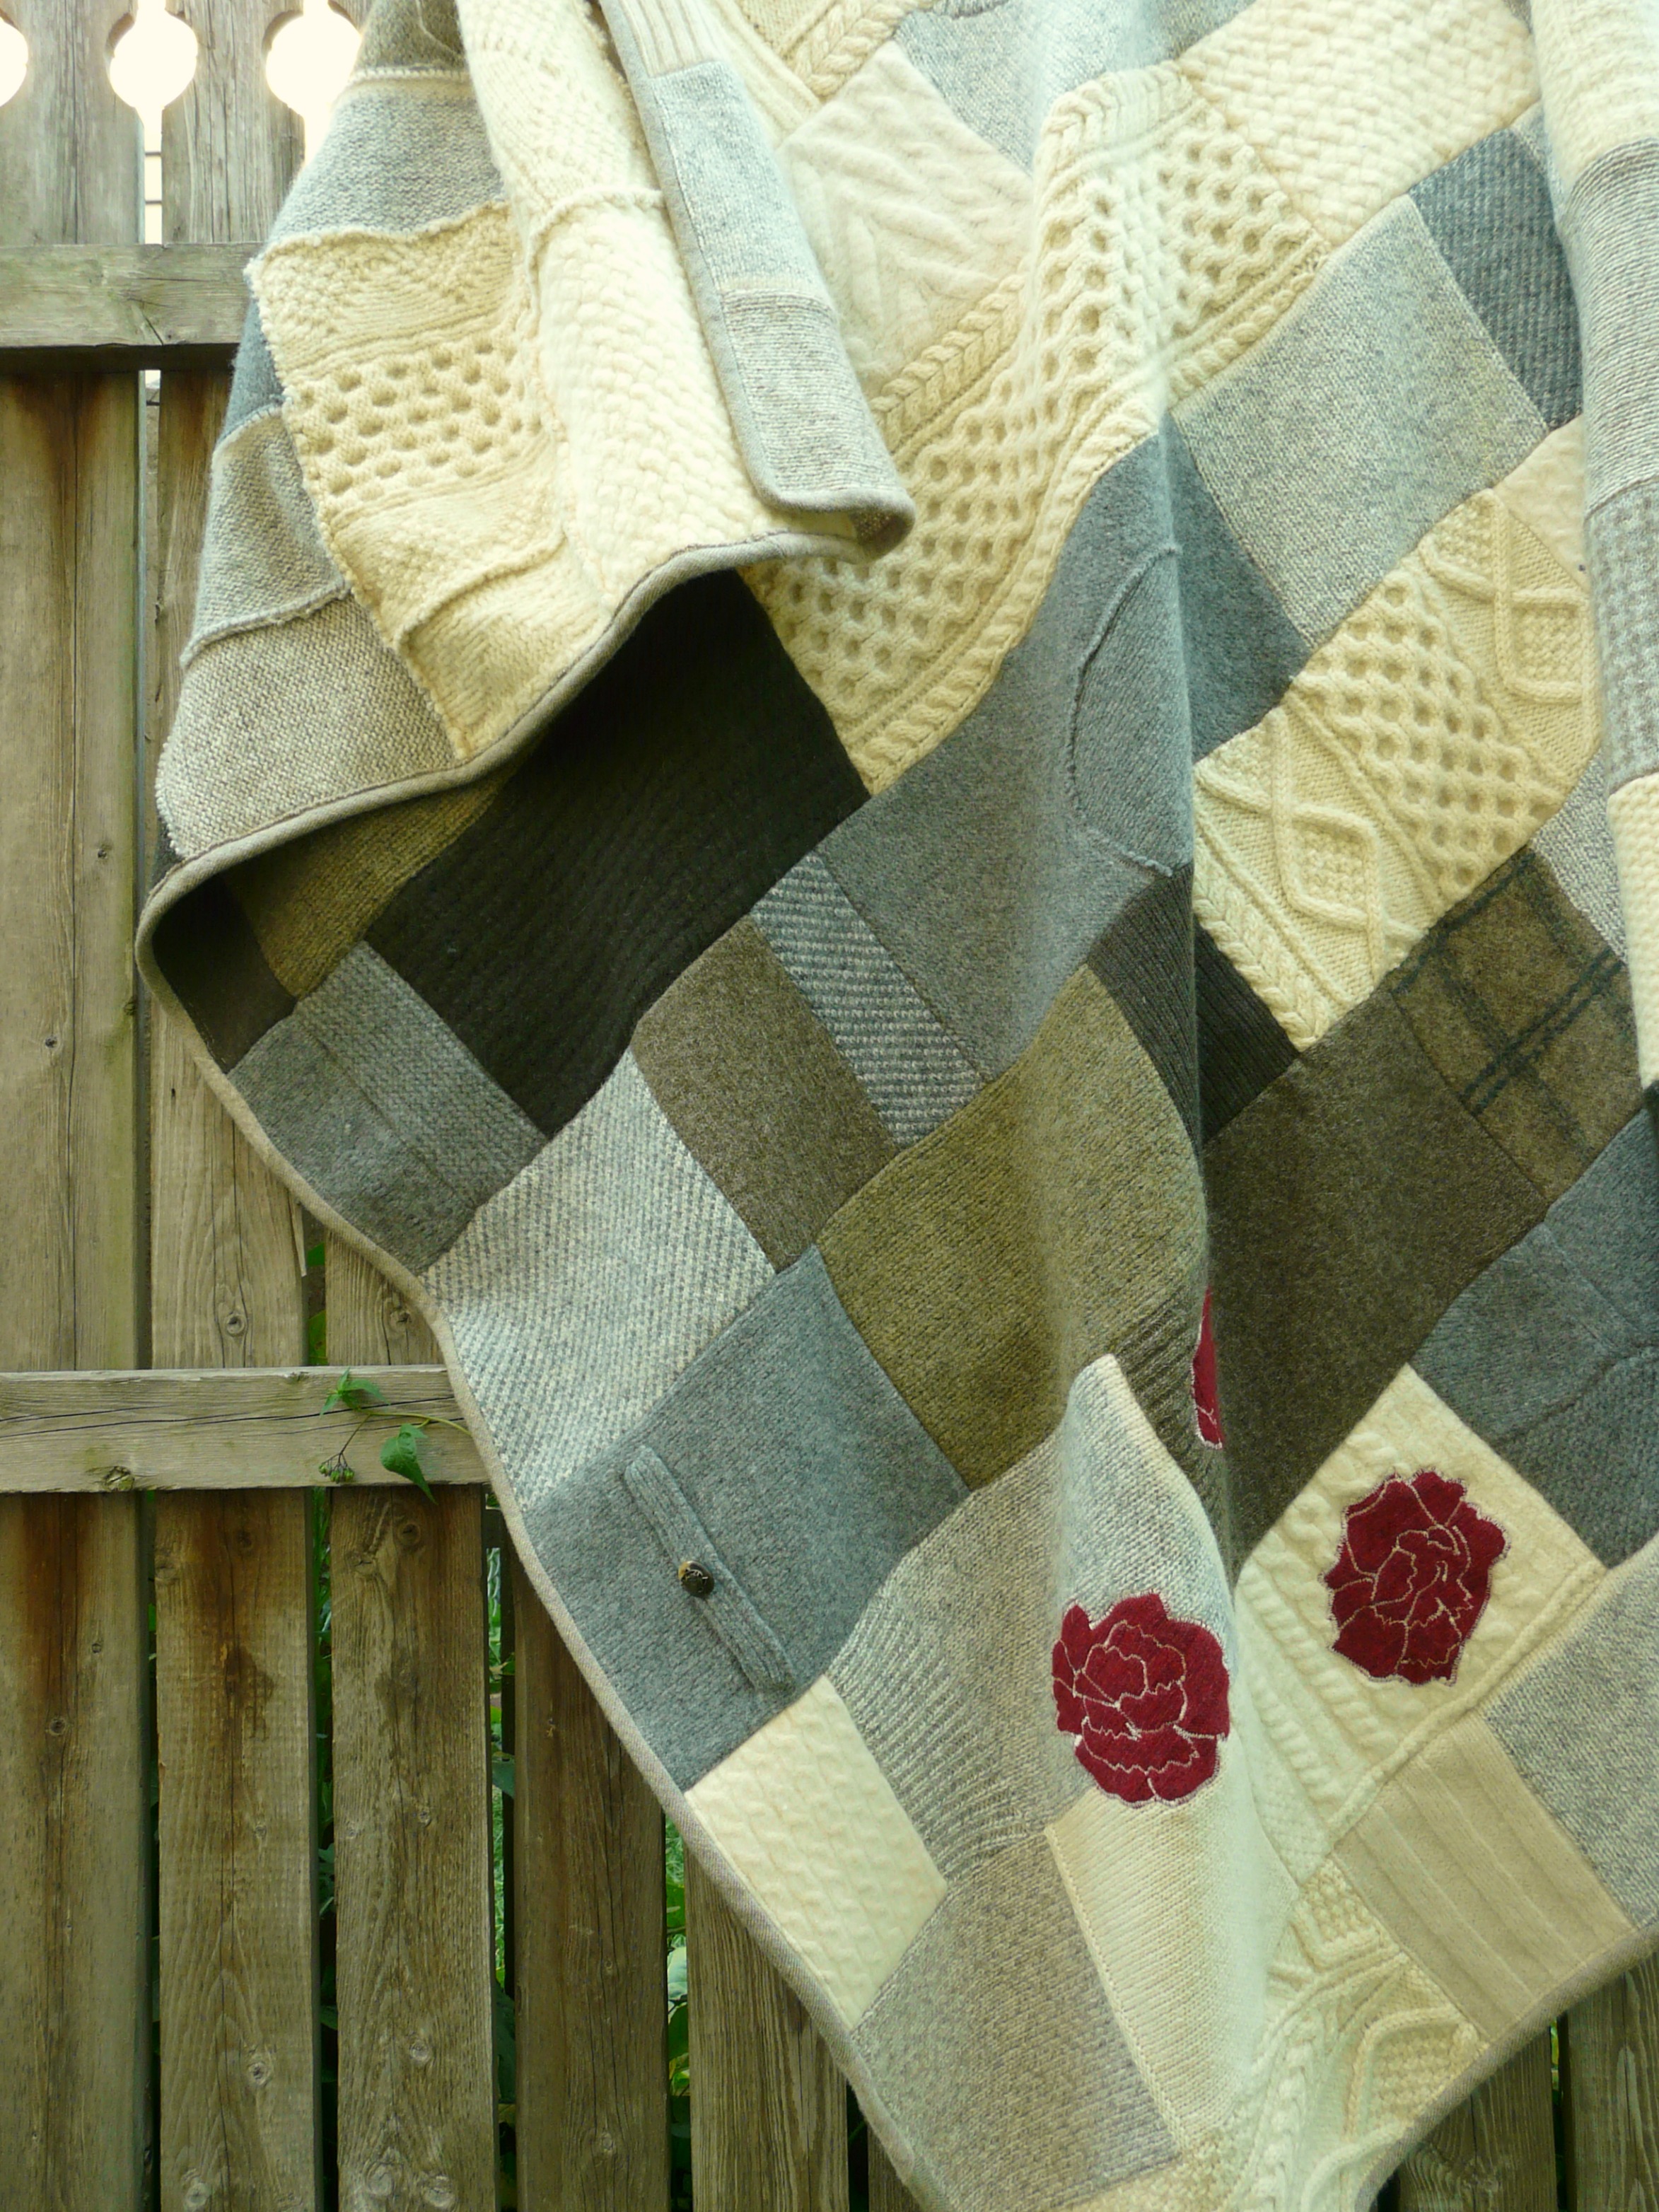
Making this became a lot of fun! For years Hope has loved watching British-made shows like Clatterford, Miss Marple, Doc Martin, and Rosemary and Thyme. She admits it’s the scenery in the shows that charms her most of all. Over the years she has shared that love with her sister and me, and now our bucket list includes seeing old and quaint cottages somewhere in the world. That is how these two little cottages came to be on this blanket. Then the windmill. The birds, river and sailboat brought the whole scene together.

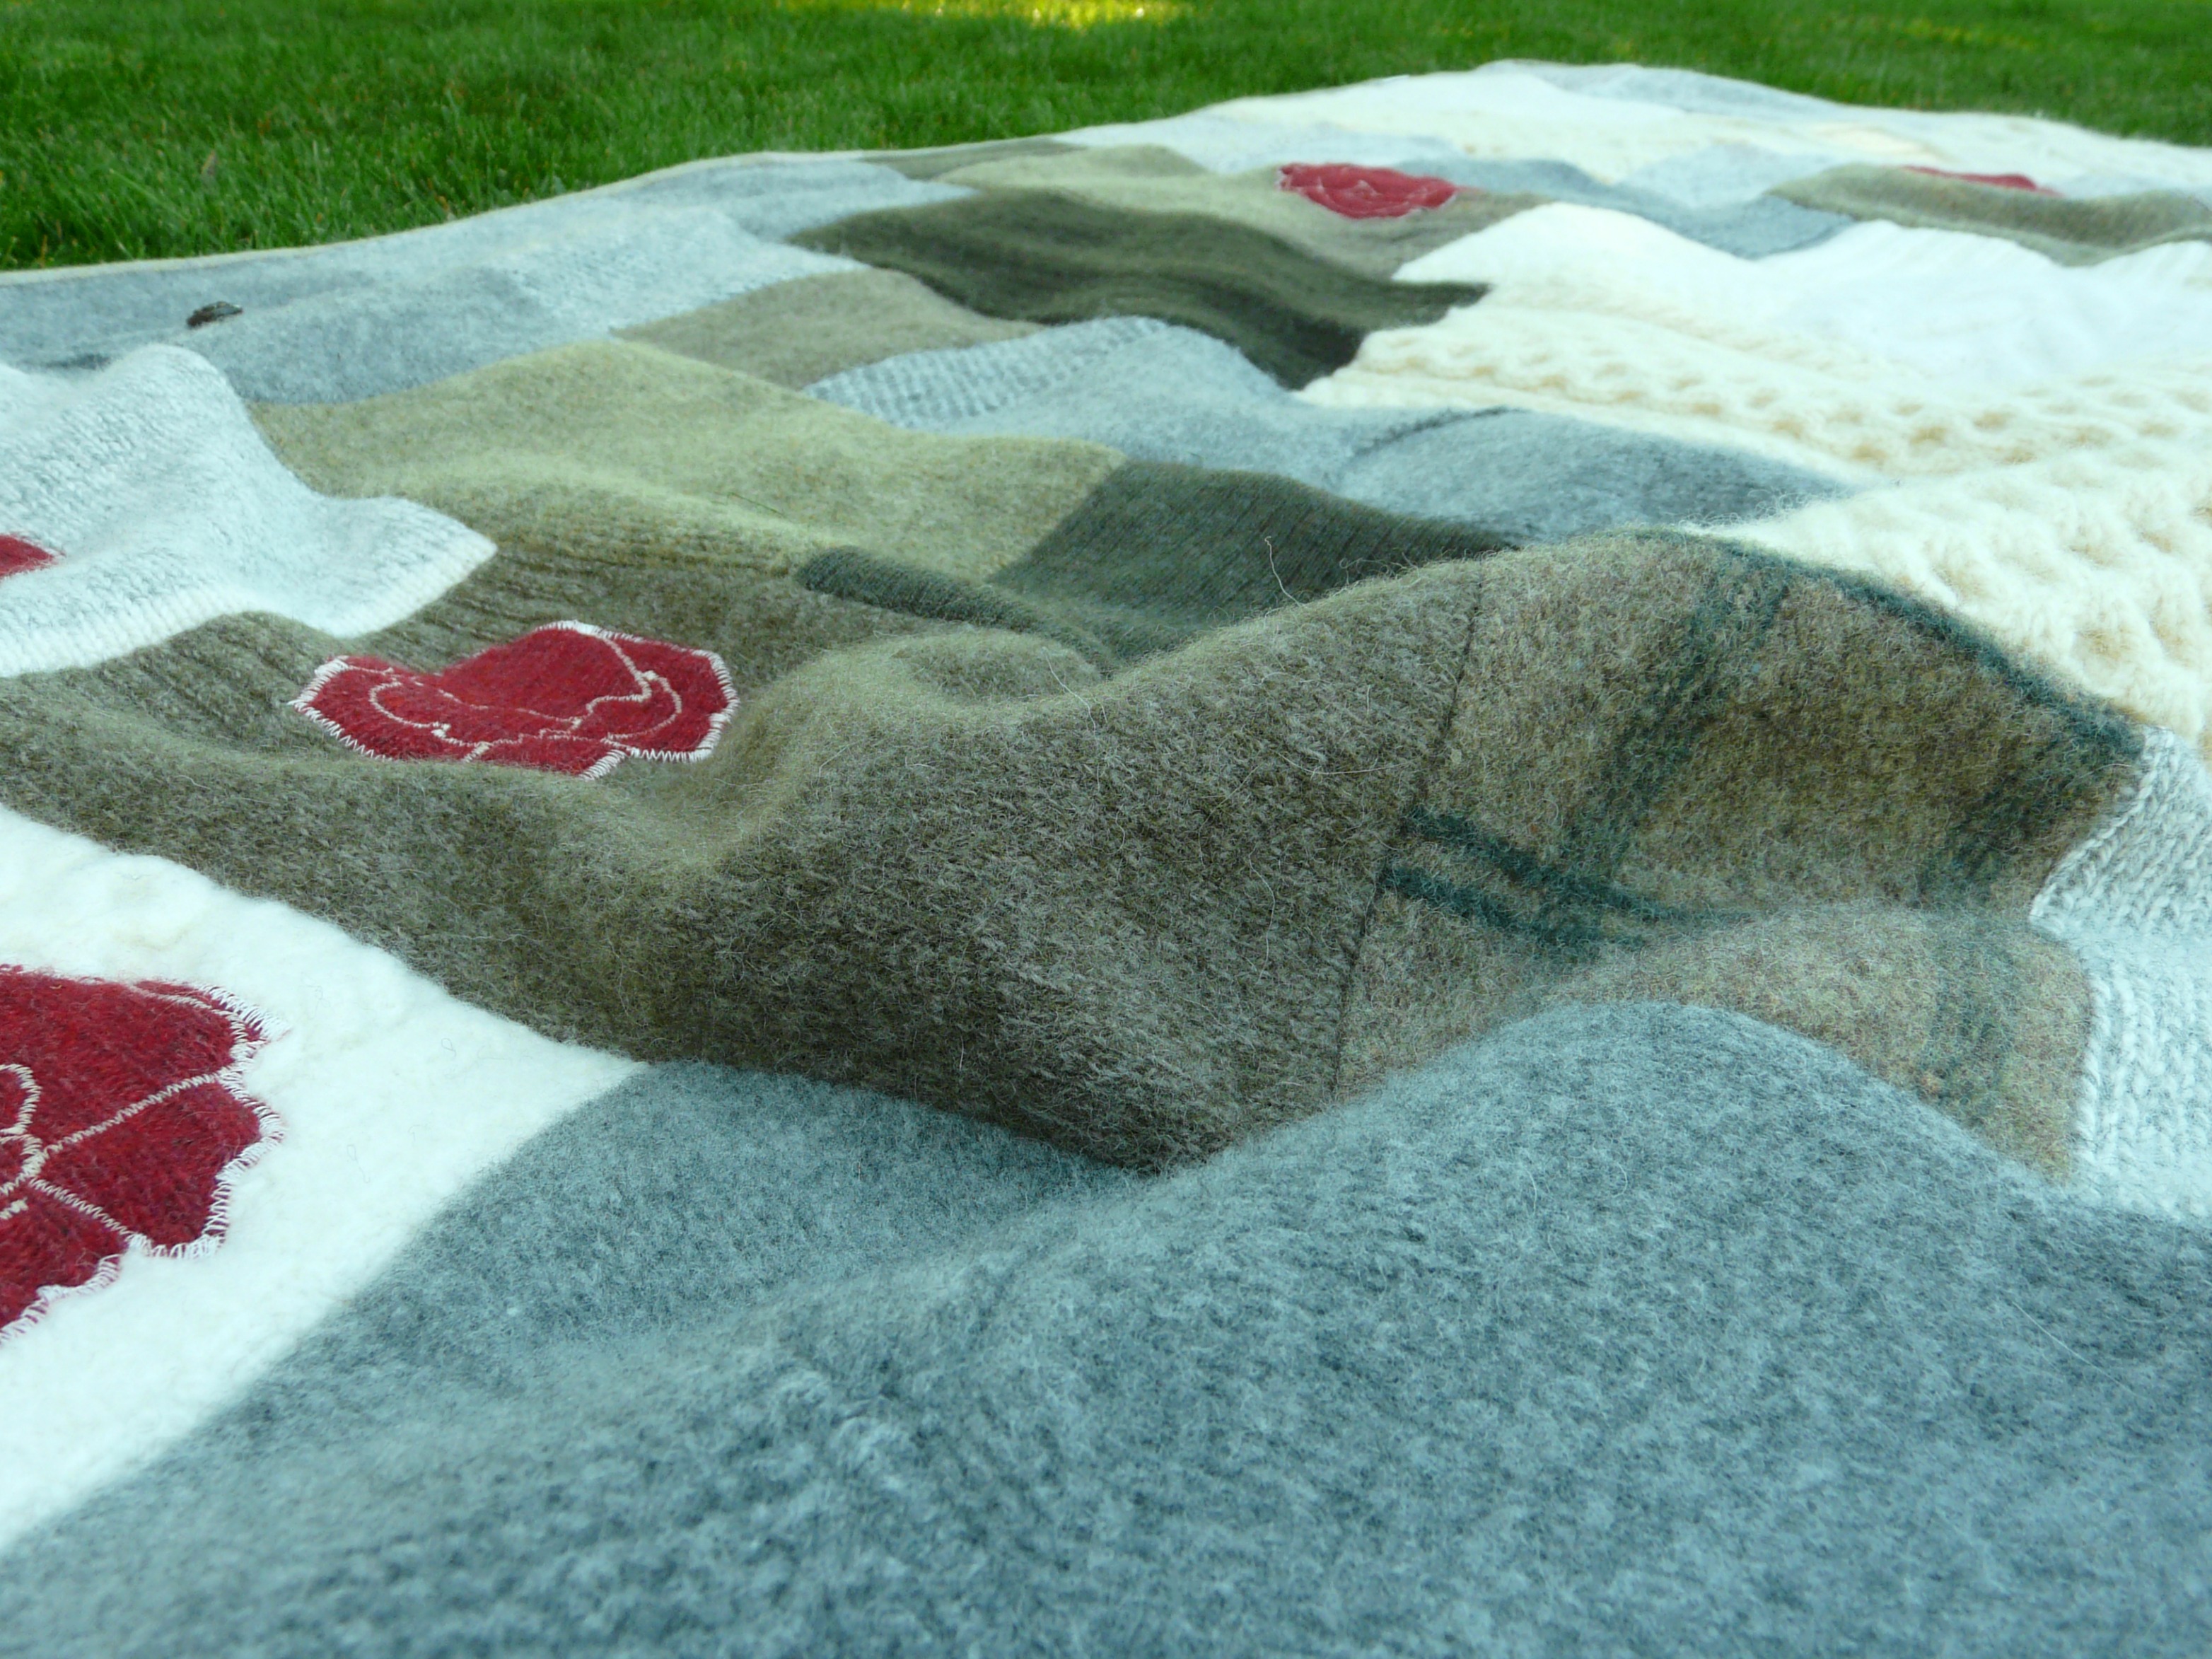
Artistically, it was surprising to discover that several blues make up each blue-and-white scene on porcelain pieces. For the blanket, I chose three: a dark (navy), a medium (a truer blue), and a light (approaching sky blue). The two darker ones are pretty close to each other in value, especially in the photos. Can you find them all?

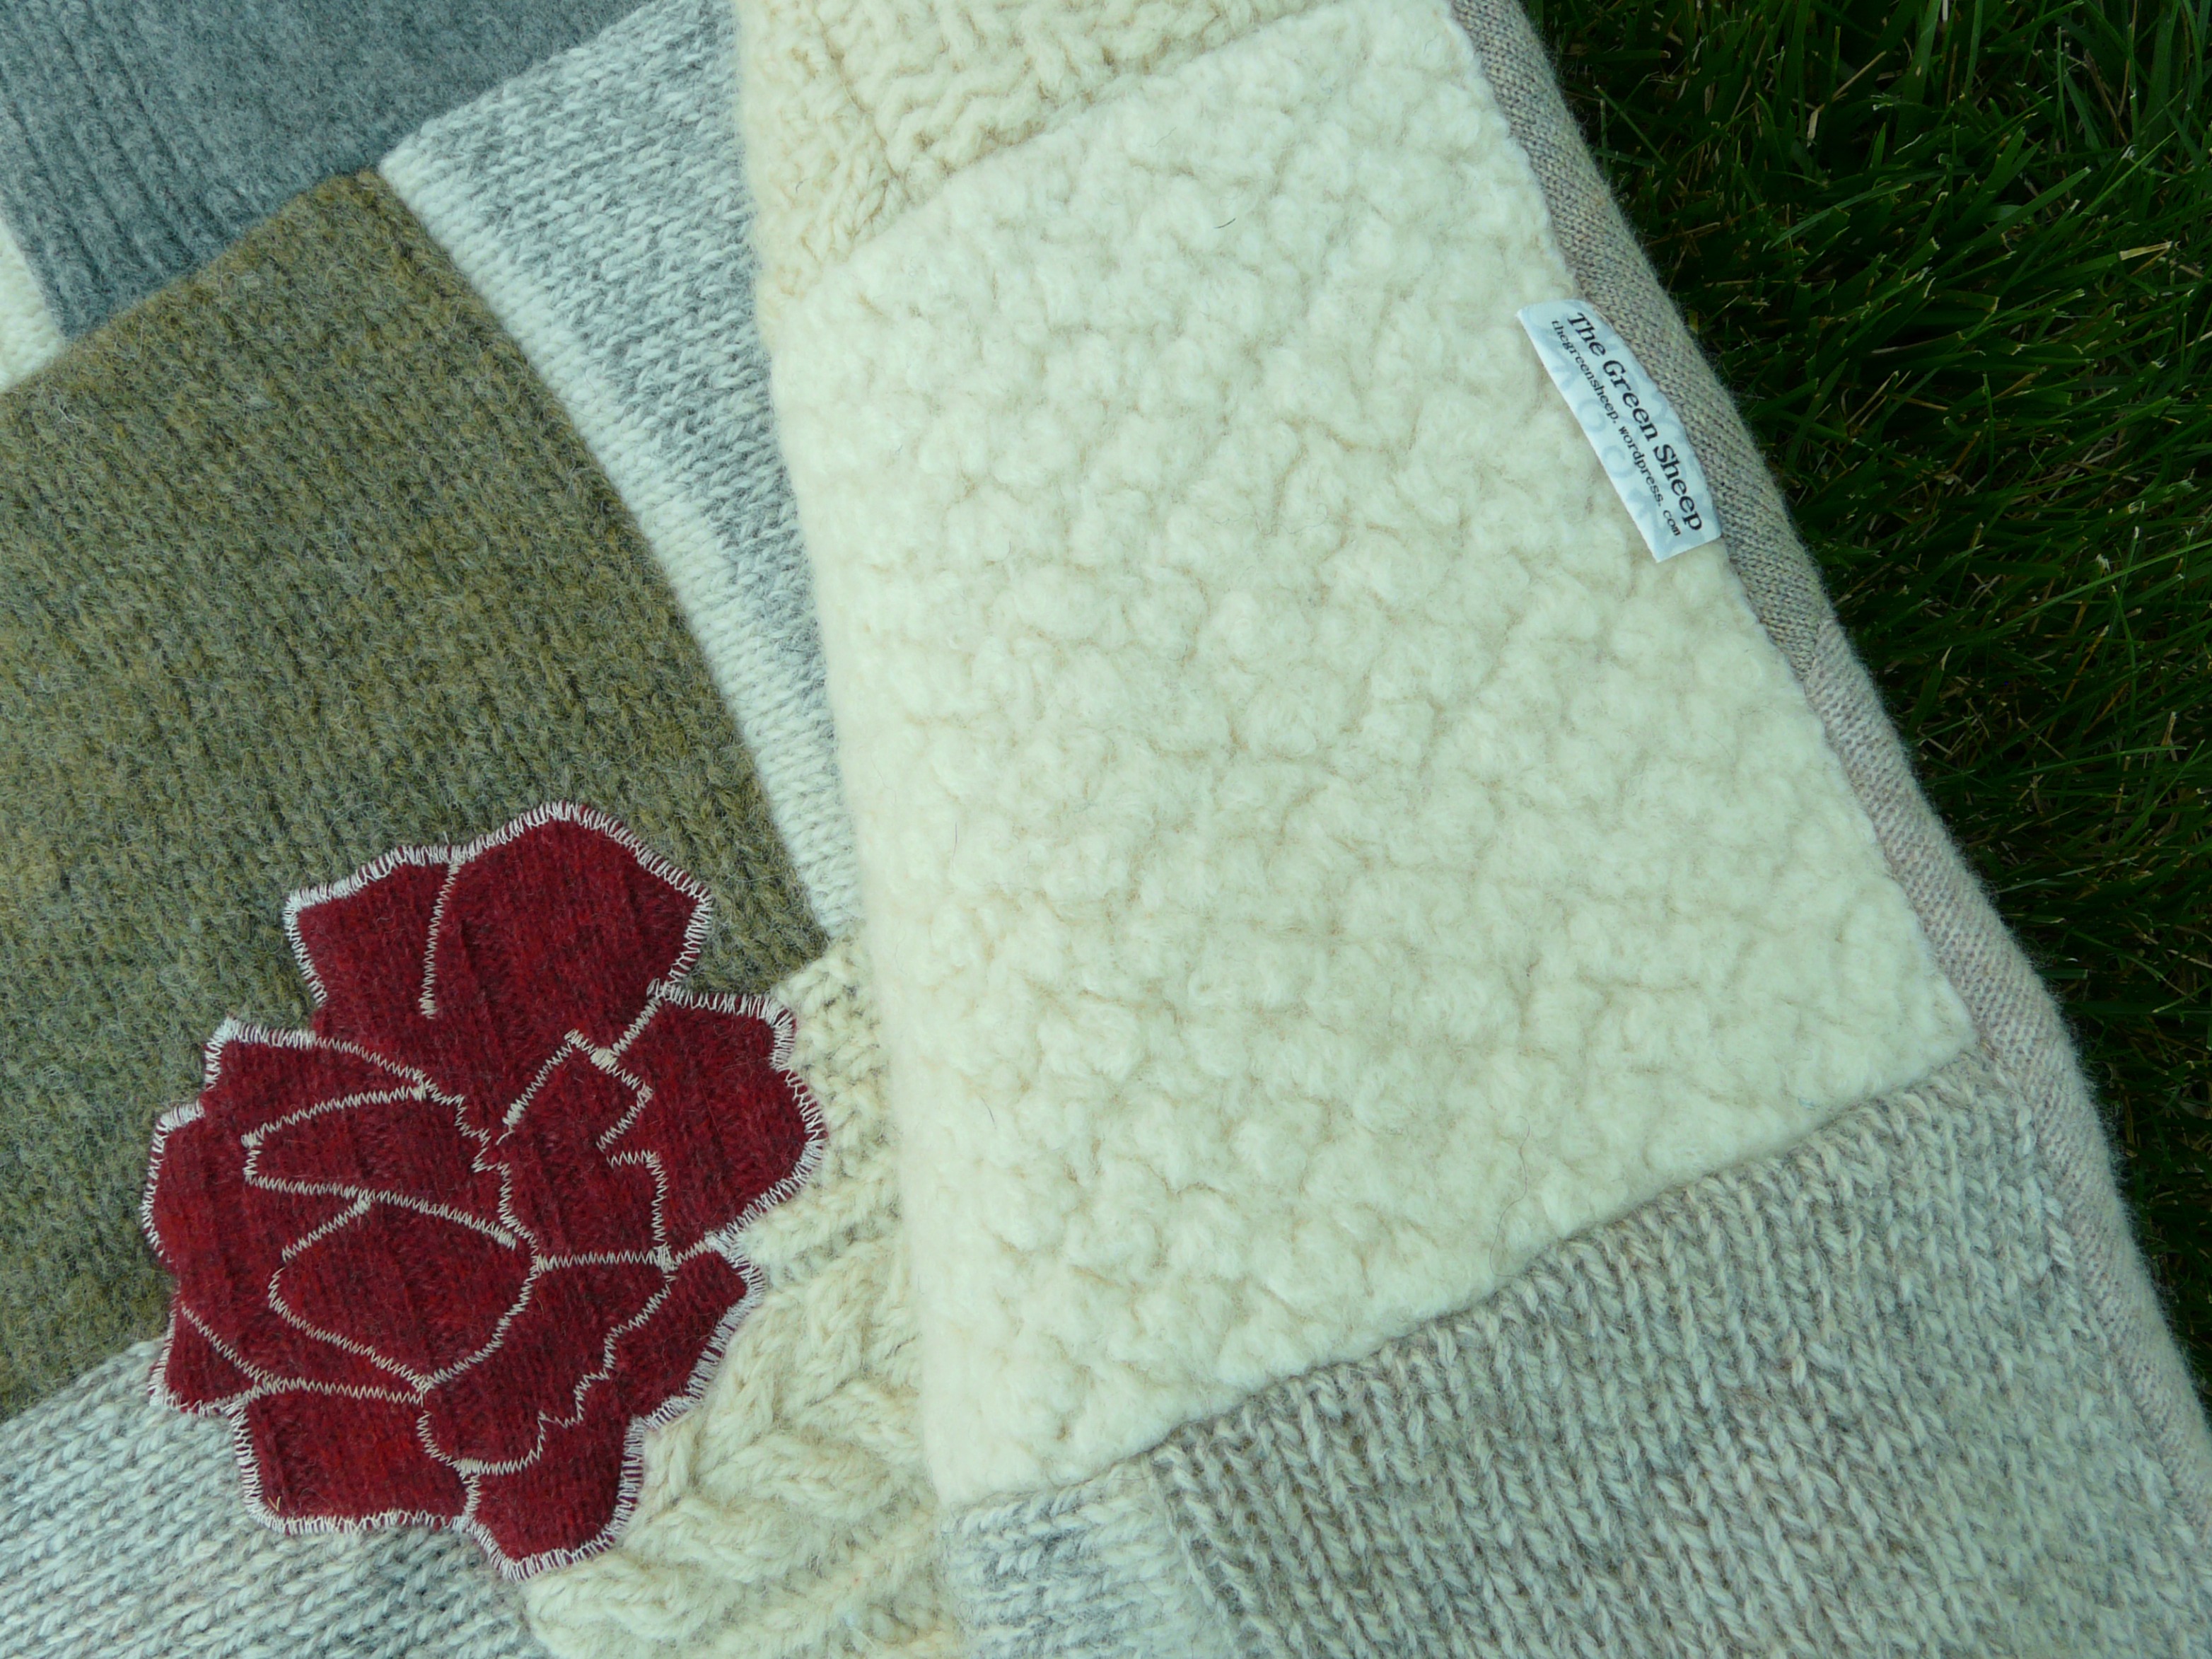
The blanket had a final addition that I nearly missed: The ripple of water by the boat. It was actually fabric trimmings left over after I cut out all the birds. The boat had been floating in mid-air until I saw that wavy scrap with new eyes. It offered the perfect weight for that lower right corner and provided the boat a lake of its own.

And there you have it: A Dutch town for my English-countryside-loving Norwegian-German-Scot daughter who lives and paints in the American Midwest. To me, this blanket includes it all.

For Hope,
with much love from Mom.
It’s a joy to be related to you.

“Honorarily Dutch”

This blanket lives happily in its new home,
surrounded by many companions of the blue and white sort:

[Photo credit: Lindsey Peterson. From hopeolson.com. Used with permission.]

“Fullness of Peonies”

It’s been my delight in recent weeks to create another “legacy blanket” from, as it happens, another beautiful Irish sweater.

002a

The pieces with the diamonds (above) and the chevron (below) — that’s the Irish one.

004a

Each time I work on one of these blankets (like hereherehere, and here) I am moved by the complexity, wonder, and organic force of legacy within a family.  I hear about these things when an individual brings a sweater and says, “My dad passed away, but I’d love to have his wool sweater put into a blanket for my mom. Will you do that?”

050a

Mary, one of six kids in her big, lively family, found my work online while exploring what to do with her late dad’s sweater. She emailed, asking if I could make a blanket for her mom, Barbara. I replied (“Of course!”) and asked, as I always do, if I could briefly interview her by phone about her parents.

This is one of my favorite parts of the process. It’s where ideas begin to germinate.

058a

Mary not only talked with me, she sent a couple photos of her parents’ den, a long-time favorite hang-out of the entire family. WOW. A picture and its thousand words cannot be beat. I particularly fell in love with a sepia-toned vintage map of Europe above the red couch, hung next to a classic print of a horse and rider.

042a

The blanket took its shape around what I learned of Mary’s family, her mom, her dad, and that welcoming den.

049a

Mary’s dad, a college professor, became a US Congressman in the ’60s and moved his family near Washington D.C. He and his wife not only raised their family and served their state and country together, they co-authored books! There’s a lot to admire there.

075a

Barbara is a capital-G Gardener, with related offshoot activities: she has led garden tours as a docent and helped launch (I believe — my notes grew sketchy here) a neighborhood garden club. I got the feeling she loves to be around both gardens and people.

057a

Confirming my suspicions, her daughter reported that Barbara adores having a house full of people :)

037a

And so it came together: the neutrals to match the masculine sensibilities in the den, the flowers to match the warm red furniture, the fullness of peonies to match this mom and her family full of generations, interests, activities, loves,…legacy. To Barbara, Mary, and the family: I hope this blanket represents your family well :)

034a

“Fullness of Peonies” (55″ x 70″)

This is a custom-order blanket.

Holiday Open House!


You are invited to a


HOLIDAY OPEN HOUSE

EXTRAVAGANZA!!

Sunday, Nov. 4, from Noon to 4 p.m. in Arlington Heights, IL  (email greensheepjo [at] gmail [ dot] com for the address)


Participating Vendors include: 

Bob’s Wine Bottle Lights

Embelysh Inc.

Marcia’s Cards

M.E. Designs

Mini Massage by Back In Balance

Peace Beads

RL Photography

The Green Sheep

Usborne Books

Willow House  Jewelry by Sara Blaine

Willow House Style For Home 

Zee’s Tees

My friend Kathy, who I met over a Green Sheep blanket, is hosting this wonderful open house in her own home. I’m honored to be a part of it! If you live in the area, please come. Email me at greensheepjo [at] gmail [dot] com to get the street address. There’ll be refreshments and raffles in addition to a wide assortment of gifts. You’ll find great ideas for family, friends, teachers, hostesses, and even you. We’re all working hard to put on a great day for you!

“The Original”

Three years ago, my youngest daughter opened an old copy of the now-defunct Cottage Living magazine to an article about Caroline Unruh and her company called Sweet Felt Goods. The “sweet felt goods” are her incredible blankets made from recycled sweaters. I’d never heard of such a thing before! My daughter said, “I think you’d like doing something like this.”

The blankets in the article and the mentioned website (no longer active) were beautiful, colorful, intriguing. It piqued my interest to try to figure out how to do it. So I went online and found out about all the things people were making out of recycled and felted wool sweaters. I really had no idea!

I studied other people’s work for some time, then went around the house and collected all the old wool knit things we no longer wore. I picked up a couple more from a thrift store. And then I set about felting my very first batch of wool sweaters.

In there was a sweater I had bought for my soon-to-be husband on my last trip with my family just two weeks before our wedding, on the Greek island of Mykonos (the cream with brown detail):

Also in there are the hand-knit woolen long-underwear made for my husband when we lived in the People’s Republic of China and taught English for two years early in our marriage. Winters indoors were very cold where we lived, and long underwear was a necessity. In the photo below, can you see the four teeny holes lined up along the lower edge of the brown? That’s where the drawstring threaded through those long-johns to keep them on my hubby.

I cut everything in strips by hand with my old fabric scissors, laid out the pieces until I liked them, and finally sewed them together. Oh my, and how could I ever have known how I would fall in love with the wool and how addictive the process would become??

This blanket has become very well-loved and well-used in these three years. It keeps us warm for movie night, snuggles well for Sunday afternoon naps, has gone on sleep-overs and retreats, and is often being hunted down because it moves from room to room so frequently.

It’s also huge, about 70″ by 90″, which makes it great for two on the couch and provides extra coverage on top of a queen bed.

With affection, I present the blanket that started everything:

The Original (size: 70″ x 90″)

The blanket happily belongs to the owner of this blog and her family :)

Something old, something new, something borrowed, and I’m not blue, part III

And now to work! Last week I showed you some inspirational kitchens. This week I’ll show you what’s been happening — with lots and LOTS of photos. First, THE CABINETS:

I studied the photo gallery on the Rustoleum site, read people’s reviews on Amazon, and decided to go with the Rustoleum Cabinet Transformation Kit for white cabinets. The kit includes a deglosser (so sanding, stripping, or priming isn’t needed), the bond coat (this is the paint), an optional decorative glaze, and a protective top coat. Here I’m prepping for deglossing:

In one review, a very disappointed man wrote about how the tannins of his oak cabinets leaked through his white bond coat and ruined everything. I am so glad I read this! I called Rustoleum and learned that ONLY in the case of painting OAK cabinets WHITE (and sans the decorative glaze), the cabinets must be primed to block the leaky tannins. Good thing I like to paint.  Here’s the priming step (notice the old almond-colored countertop, circa 1984):

Next, THE COUNTERTOPS:  In the middle of my cabinet-priming, our carpenter said he had two days he could come to install the new butcher-block countertops, a new sink and a new faucet. Here’s the “raw” countertop, mounted on the primed cabinet frames. (The cabinet doors were all undergoing the same treatment out in the garage.)

With the new sink, we would gain an inch in depth — very noticeable! And with the new faucet, we would gain MUCH more space under the spout for tall items —  cookie sheets, for instance :).

FINALLY, 5 coats of paint later (actually 1 primer, 3 paint, 1 finish coat) and with the carpenter paid — THE REVEAL…with finished counters, finished cabinets, and new hardware!  (I did, however, reuse the old hinges by cleaning, priming and spray-painting them white, and then waiting several days before reinstalling them.)

It’s a work in progress! So far, I’ve used a homemade beeswax-and-mineral-oil paste to rub into the wood. I tried mineral oil alone first, but it kept raising the grain of the wood. Here’s a good “recipe.” Also, in these pics you see the wall where the old molded backsplash, attached to the old counter, came up the wall. I’ll soon paint it the same color as the wall until I decide what to do for a new backsplash.

For the window, I finally tried an idea I’ve had tucked away in my mind. I bought a vinyl roller blind (at Menard’s, where they cut it to size) and hung it up. I bought and cut fabric to fit the window with 1″ extra on each side for a fused hem, 1-1/4″ extra at the bottom for a rod pocket, and about 6-8″ extra at the top, to go around the roller. I took down the blind, unrolled it on a clean table, left a couple revolutions of the vinyl on the roller and cut the rest off. I then overlapped the top edge of the fabric with the bottom of the vinyl left on the roller and taped it with packaging tape, both front and back. I stuck the rod in the rod pocket. I rolled the blind up tightly, now with the fabric on it, and hung it back up. It works great!

(The clear plastic handle I put on the bottom of the blind to protect it from wet hands, etc., is too tight and makes the rod curl in these photos. I need to take it off, I think.) On the left, under the window, are narrow shelves for cookbooks and other sundry items. These are made out of the leftover butcher block from the counters. They’re still unfinished, but I will likely stain and seal them eventually.

There’s an awful lot of white here with the cabinets, the appliances, the island, the floor. Again, this kitchen is a work in progress! I’m painting the island right now (“Mega Greige” by Sherwin-Williams). Hope to change out the floor with my hubby sometime this year when we’re both free for a big project. And then we’ll reconsider lighting above the island, where there’s currently a fan with down-lights.

For now, at least, here’s the whole shebang in BEFORE and AFTER shots —

BEFORE:

AFTER:

 BEFORE:

AFTER:

BEFORE:

AFTER:

 I’m so happy with it! I love the sense of lightness from the white and the warmth and organic feel of the wood, just as I had hoped :).


Something old, something new, something borrowed, and I’m not blue — Part II


[Found items of mine: hand-carved bowl]

I love wood. I love its warmth and smoothness, its variations in color and grain, its functionality. I love its surprising beauty in various forms. And so, as I mentioned in my last post, the beautiful wood butcher block on my newly-acquired (via Craigslist) kitchen island got my mental gears turning.

Photo: Crate and Barrel

Hmmm, I thought. “I’ve been wanting to put up shelves beneath the kitchen window. What if I make them out of butcher block, just for the fun of it?” So I asked my hubby, who regularly drives past IKEA, to pick up a Lagan countertop for me. Simple enough.

But my online search to learn about Lagan countertops opened up a Pandora’s box of ideas. What if instead of just making shelves, we changed out the whole countertop with this great butcher block?

Thus begins the “SOMETHING BORROWED” section of this series — a handful of favorite kitchen pics I found online with their butcher block countertops. It didn’t take long to learn that I love the wood/white cabinet combination. (Click on a photo to link to the website where it originated.)

[Photo: Canadian House and Home]

Above: Rustic table, open cabinet fronts, farm sink — all made so welcoming by the lovely countertop.

[Photo: Southern Living]

Above: I appreciate the simplicity of this small, cheery space.

[Photo: this & that]

Above: I think the darker wood is gorgeous, although I don’t know that I’d do it in my own kitchen. This countertop also  has my absolute favorite finish on the wood — she used Waterlox over a stain.

[Photo: Better Homes and Gardens]

Above: I especially like the island painted in a contrasting color. I don’t like the blackboards and the ruffles are too sweet for me, but the TULIPS redeem those small faults.

[Photo: Meet My Ugly Baby]

Above: This is from a great blog about renovating a Vancouver apartment. Fun and interesting!

[Photo: Architectural Digest Online]

Above: I just want to stand at this window and finish arranging those flowers from the garden. Wait! I can do this at my OWN house! Soon on my own butcher block counter!

[Photo: Buckboard Hill Interiors]

Above: This kitchen beckons, “Come away for the weekend!”

[Photo: via Pinterest via google.com; unable to locate original]

Above: I like the use of one main color to balance out the white. (If anyone knows the origin of this photo, please let me know.)

[Photo: The Old Painted Cottage]

Above: Every time I see this, I want to whip up some cinnamon rolls and call the family down for breakfast.

Turns out I sent my hubby back to IKEA for two more Lagan countertops (an incredible deal at $59 for 8′). I figured I could come back to the shelves-under-the-window idea. But now I had my sights on bigger things…